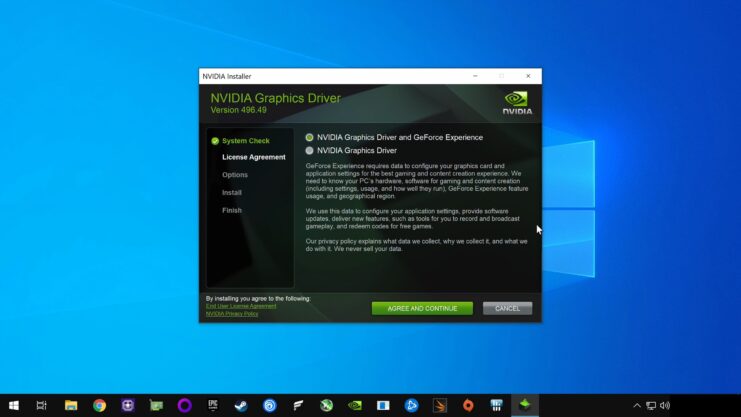
If you’re reading this, you’re probably familiar with the GeForce Experience, NVIDIA’s software designed to optimize gameplay and provide a seamless gaming experience. But, like all software, there might come a time when you feel the need to part ways with it.
Maybe it’s causing some hiccups, or perhaps you just want to free up some space. Whatever the reason, it’s crucial to ensure you uninstall it the right way. After all, we wouldn’t want any lingering files causing chaos in our systems, would we?
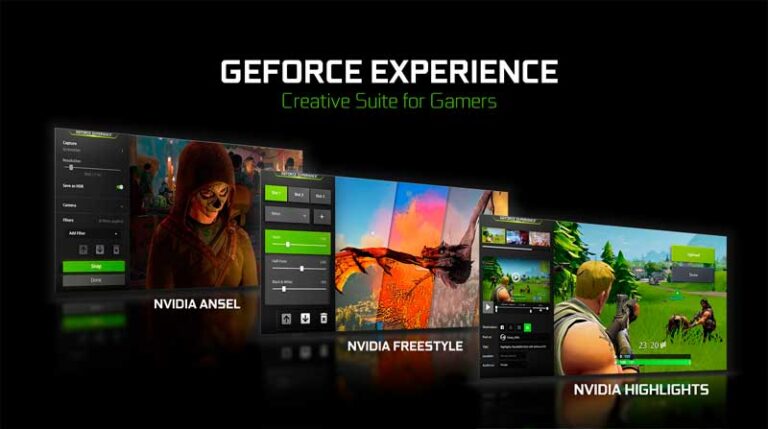
The GeForce Experience
NVIDIA’s little gem that helps gamers get the most out of their games. It automatically adjusts in-game settings for optimal graphics performance, captures and shares videos, screenshots, and live streams with friends, and even keeps your NVIDIA drivers up to date. It’s like having a personal gaming assistant. But, as with all good things, sometimes it might not be the right fit for everyone.
There are a plethora of reasons one might want to uninstall GeForce Experience. Some folks find it a tad bit resource-intensive, especially on older machines. Others might experience compatibility issues or simply prefer to manually tweak their game settings. And let’s not forget the occasional software bug that can make the experience less than stellar.
Now, before you rush off and hit that uninstall button, it’s essential to do it right. Improper uninstallation can leave behind residual files, which not only take up precious storage space but can also interfere with other software or system processes. Plus, if you ever decide to give GeForce Experience another shot in the future, these lingering files can cause installation issues. So, doing it right the first time saves a lot of headaches down the road.
Preparing for Uninstallation
Before we jump into the uninstallation process, there are a few things we need to square away. Think of it as prepping the battlefield before the main event.
Backing Up Game Settings
First things first, if you’ve spent hours fine-tuning your game settings to perfection, you’ll want to back them up.
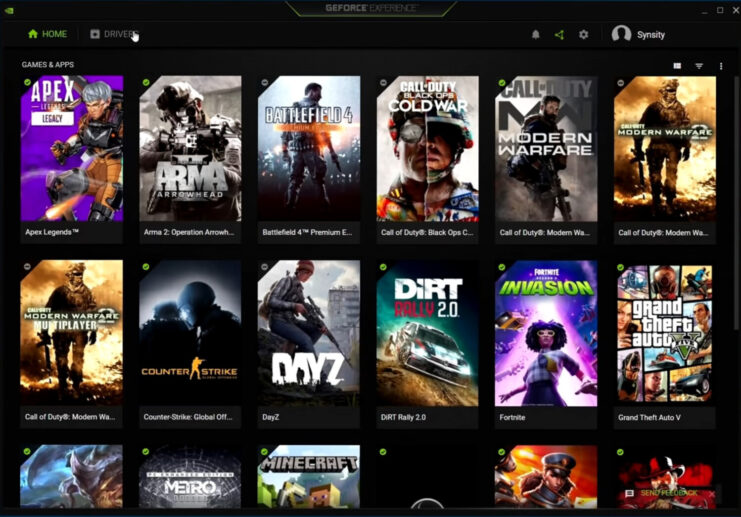
- Locating Game Profiles: Head over to the GeForce Experience interface, click on the ‘Games’ tab, and there you’ll find all your game profiles listed.
- Exporting Game Settings: Once you’ve located the game profiles, there’s usually an option to export or save the settings. This way, if you ever decide to reinstall GeForce Experience or need those settings for another reason, you’ve got them safe and sound.
Downloading the Latest Graphics Drivers
Before uninstalling, it’s a good idea to download the latest graphics drivers for your NVIDIA card. This ensures that, post-uninstallation, your graphics card still functions optimally. Just head over to NVIDIA’s official website, punch in your graphics card details, and snag the latest driver.
Last but not least, ensure that all related processes are not running in the background. You can do this by right-clicking on your taskbar, selecting ‘Task Manager’, and ending any NVIDIA or GeForce Experience processes. It’s like asking everyone to leave the room before you start redecorating.
Uninstalling GeForce Experience
Alright, with preparations out of the way, let’s get to the main event!
Using Windows Control Panel
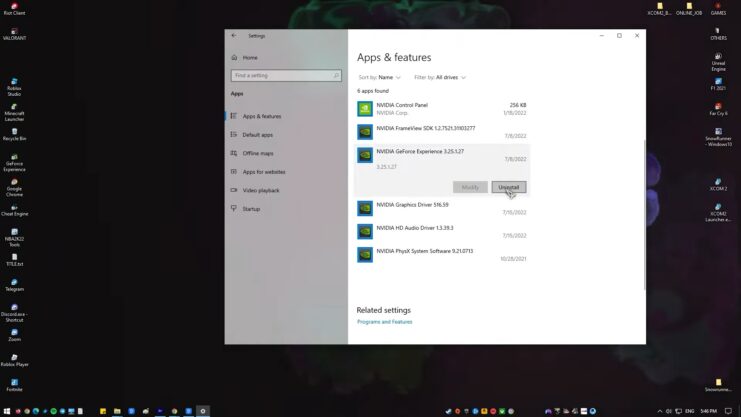
- Navigating to Programs and Features: Click on the Windows start button, type in ‘Control Panel’, and select ‘Programs and Features’. It’s the place where all your installed programs hang out.
- Selecting GeForce Experience: Scroll through the list until you find GeForce Experience. Give it a click.
- Clicking on Uninstall: With GeForce Experience highlighted, you’ll see an ‘Uninstall’ option at the top. Click on it and follow the prompts. It’s like breaking up; just be gentle and follow through.
Using Third-Party Uninstaller Tools
If you’re like me and love having extra tools in your tech arsenal, there are third-party uninstaller tools that can do the job, sometimes even more thoroughly.
- Recommended Tools: Revo Uninstaller and IObit Uninstaller are two of my go-to tools. They’re efficient and ensure no sneaky files are left behind.
- Benefits of Third-Party Tools: These tools often scan for residual files and registry entries, ensuring a clean uninstall. Plus, they can monitor installations, making future uninstalls even smoother.
Cleaning Up Leftover Files and Registry Entries
So, you’ve uninstalled GeForce Experience. Great job! But wait, we’re not done yet. Sometimes, the software can leave behind a trail of files and registry entries. Think of it as footprints in the sand. Let’s ensure we leave no trace behind.
Manual Cleanup
- Removing Remaining Folders: Navigate to your Program Files (or Program Files x86 for some) on your C: drive. Look for any NVIDIA or GeForce Experience folders. If you spot any, right-click and delete. It’s a bit like spring cleaning, but for your computer.
- Deleting Registry Entries: This step is for the brave-hearted. Press Win + R, type in regedit, and hit Enter. This opens the Registry Editor. Navigate to HKEY_LOCAL_MACHINE > SOFTWARE and look for NVIDIA or GeForce Experience entries. If you’re confident, delete them. But a word of caution: tampering with the registry can be risky, so tread carefully.
Using CCleaner or Similar Tools
If manual cleanup sounds daunting, there’s always a Plan B.
- Scanning for Residual Files: Tools like CCleaner can scan your system for leftover files. Just run the tool, select the ‘Cleaner’ option, and let it do its magic.
- Deleting Unwanted Files: After scanning, CCleaner will list out the residual files. Review them and hit ‘Run Cleaner’. It’s like having a mini vacuum cleaner for your system.
Rebooting Your System
Now that we’ve cleaned up, it’s time to give your system a fresh start. Rebooting ensures all changes take effect and any lingering processes are terminated. Click on the Windows start button, select the power icon, and choose ‘Restart’. It’s like waking up from a refreshing nap, but for your computer.
Reinstalling Graphics Drivers (Optional)
If you’ve uninstalled GeForce Experience but still want to keep your graphics game strong, reinstalling your graphics drivers is a smart move.
Downloading the Latest Drivers
Head back to NVIDIA’s official website. Remember when we downloaded the latest drivers before uninstalling GeForce Experience? If you didn’t install them then, now’s the time.
Installing Graphics Drivers
Once downloaded, run the driver installer. Follow the on-screen prompts, and in no time, your graphics card will be back in action, ready to render those stunning visuals.
Importance of Driver Updates
Keeping your drivers updated is like ensuring your car gets regular oil changes. It ensures optimal performance, fixes bugs, and can even provide a boost in game performance. So, make it a habit to check for updates now and then.
Restoring Game Settings (If Backup was Taken)
So, you’ve successfully uninstalled GeForce Experience and tidied up your system. If you took my earlier advice and backed up your game settings, here’s how to restore them:
Importing Game Settings
Head over to where you saved your game profiles. Most games have an option within their settings or launcher to import profiles. Simply navigate to this option, select your saved profile, and let the game do the rest.
Verifying Game Profiles
Once imported, it’s always a good idea to launch the game and check if everything’s in order. Ensure your graphics settings, key bindings, and other preferences are just as you left them.
Troubleshooting Common Issues
Even with the most meticulous uninstallation, tech can be unpredictable. If you run into any hiccups post-uninstallation, here are some troubleshooting tips:
Reinstalling GeForce Experience (if needed)
If you ever feel the need to get back with GeForce Experience, simply download the latest version from NVIDIA’s official website and install. Sometimes, a fresh install can resolve many issues.
Addressing Driver Problems
Encountering graphics glitches or performance drops? It might be a driver issue. Consider rolling back to a previous driver version or trying a clean driver installation.
Restoring System Stability
If all else fails and your system seems unstable, consider using Windows’ System Restore feature. It’ll revert your system to a previous state, ideally before any issues arose.
FAQ
Are there any risks associated with using third-party uninstaller tools?
Yes, while third-party uninstaller tools can be more thorough, there are potential risks. Some tools might be bundled with unwanted software or malware. Additionally, an aggressive cleanup might accidentally remove essential system files or valid registry entries. It’s crucial to use reputable tools, read user reviews, and always have a backup of your system.
Can I reinstall GeForce Experience after uninstalling it?
Absolutely! If you decide later that you want GeForce Experience back, you can always download the latest version from NVIDIA’s official website and reinstall it. It’s like rekindling an old friendship; the door is always open.
What should I do if I face issues with other software after uninstalling GeForce Experience?
While uncommon, software conflicts can arise. If you notice issues with other software post-uninstallation, first ensure your graphics drivers are up-to-date. If problems persist, consider reaching out to the software’s support team or community forums for guidance. Sometimes, a simple reinstallation of the affected software can resolve conflicts.
Wrapping Up
And there we have it, a comprehensive guide on uninstalling GeForce Experience. Remember, it’s not just about removing software; it’s about ensuring your system remains in tip-top shape afterward. Whether you’re parting ways with GeForce Experience temporarily or for good, I hope this guide has been helpful.
The benefits of uninstalling software properly are numerous, from freeing up system resources to ensuring optimal performance. And while GeForce Experience offers a plethora of features, it’s essential to know how to manage it effectively.
As we wrap up, always remember the importance of keeping your system clean and updated. In the ever-evolving world of tech, staying informed and proactive is key. Until next time, happy gaming and may your graphics always be flawless!